Unlock the Magic: A Comprehensive Guide to My Disney Experience
What is My Disney Experience
My Disney Experience is a comprehensive online and mobile tool designed to help guests plan and manage their Walt Disney World vacation. It integrates various aspects of your trip, allowing you to customize your experience and make the most of your visit to the parks. Here’s a closer look at what My Disney Experience offers:
Key Features of My Disney Experience
Dining Reservations
Make reservations for table-service restaurants, character dining experiences, and special dining events. This ensures you can enjoy the culinary delights Disney has to offer without the hassle of long waits.
Mobile Ordering
Use the app to order food and beverages from quick-service restaurants, allowing you to skip the lines and pick up your order at your convenience.
Personalized Itinerary
Keep track of your park reservations, dining reservations, Lightning Lane selections, and other activities in one place. This helps you stay organized and make the most of your time in the parks.
Interactive Maps
Access detailed maps of all four theme parks, water parks, Disney Springs, and resort hotels. The maps provide information on attractions, dining, restrooms, and other key locations.
Real-Time Wait Times and Show Schedules
Check current wait times for attractions and show schedules to plan your day more effectively and make the most of your visit.
MagicBands and Cards
Connect your MagicBands or cards to your account. These all-in-one devices serve as your ticket, hotel room key, FastPass+ access, and even a payment method for food and merchandise.
PhotoPass and Memory Maker
View and download all your Disney PhotoPass photos taken by Disney photographers throughout the parks. With Memory Maker, you get unlimited digital downloads of all your photos and videos.
Special Offers and Notifications
Receive updates on special offers, promotions, and important information about your trip.
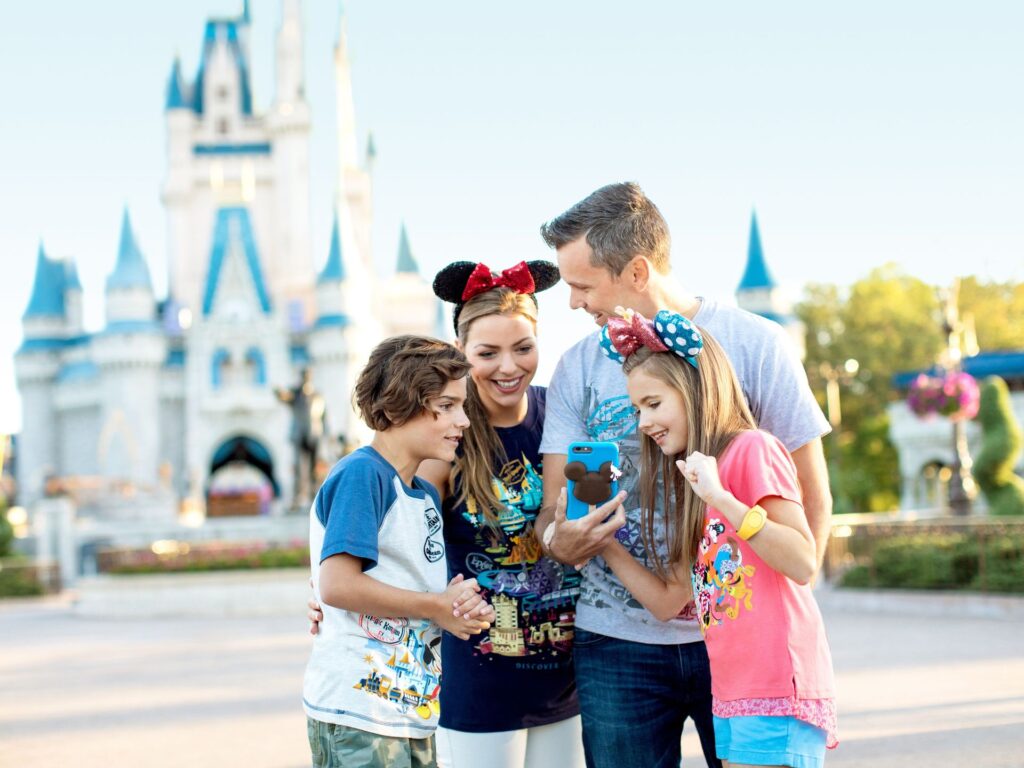
How to Access My Disney Experience
Website
Visit the My Disney Experience website at My Disney Experience.
Mobile App
Download the My Disney Experience app from the App Store (for iOS devices) or Google Play (for Android devices).
Benefits of Using My Disney Experience
- Convenience: Manage all aspects of your Disney vacation from a single platform.
- Customization: Tailor your trip to your preferences, making it uniquely magical.
- Efficiency: Save time by making reservations, ordering food, and checking wait times on the go.
- Coordination: Easily plan and share activities with your travel party, ensuring everyone has a magical experience.
My Disney Experience is designed to make your Walt Disney World vacation as smooth and enjoyable as possible, allowing you to focus on creating magical memories with your loved ones.
Create Your Account
To get started, visit the Website or Download the My Disney Experience app on your smartphone. If you don’t have an account, click on “Create an Account” and follow the prompts to set one up. If you already have an account, simply log in with your credentials.
If you have any other Disney account such as ShopDisney.com or a Disney Plus TV subscription, you should use the same login as you have for those.
When setting up your account it is better to use the website version. The website version also works better for linking your hotel reservation and tickets, and making advance dining reservations. The mobile app is best to use while in the parks and purchasing Lighting Lanes.
Add Your Friends and Family
Setting up your list of friends and family in My Disney Experience is an important step that should be done early in your planning process. This allows you to manage reservations, link tickets, and plan activities together. Here’s a step-by-step guide to help you set up your list of friends and family:
Step 1: Navigate to “My Family & Friends”
- Access the Menu: Once logged in, click on the menu icon (three horizontal lines) in the top right corner of the app or the “My Disney Experience” tab on the website.
- Select “My Family & Friends”: From the menu, select “My Family & Friends” to view and manage your list of connected people.
Step 2: Add Friends and Family
- Click on “Add a Guest”: Within the “My Family & Friends” section, look for the option to “Add a Guest” and click on it.
- Choose How to Add a Guest: You have three options to add guests:
- From a Connected Account: If your friend or family member already has a My Disney Experience account, you can connect by searching for their account and sending an invitation.
- Enter Details Manually: If they don’t have an account, you can manually enter their details, such as name and age. This is useful for adding children or guests who don’t use My Disney Experience.
- Import from a Reservation: If you have existing reservations that include other guests, you can import their information directly from the reservation.
Step 3: Send Invitations
- Send Email Invitations: If you are connecting with someone who has their own My Disney Experience account, you can send them an email invitation to link accounts. They will need to accept the invitation to complete the connection.
- Confirm Connections: Once your invitation is accepted, you will see your friends and family members listed in your account. Make sure to confirm each connection.
Step 4: Manage Permissions
- Set Sharing Permissions: You can control what information you share with each person on your list. Click on the guest’s name and select “Update” to set permissions for things like viewing plans, photos, and more.
- Adjust Settings as Needed: You can update these settings at any time by going back to the “My Family & Friends” section and editing the permissions for each person.
Step 5: Verify Your List
- Review Your List: Return to the “My Family & Friends” section to verify that everyone is correctly listed and linked.
- Check Connections: Ensure all your friends and family members are connected so you can seamlessly make plans and reservations together.

Overwhelmed? Disney Travel Planners are available to make sense of all the options. Many offer free services when you book with them. To learn more, read Disney Travel Planners.
How to Link Disney Resort Package
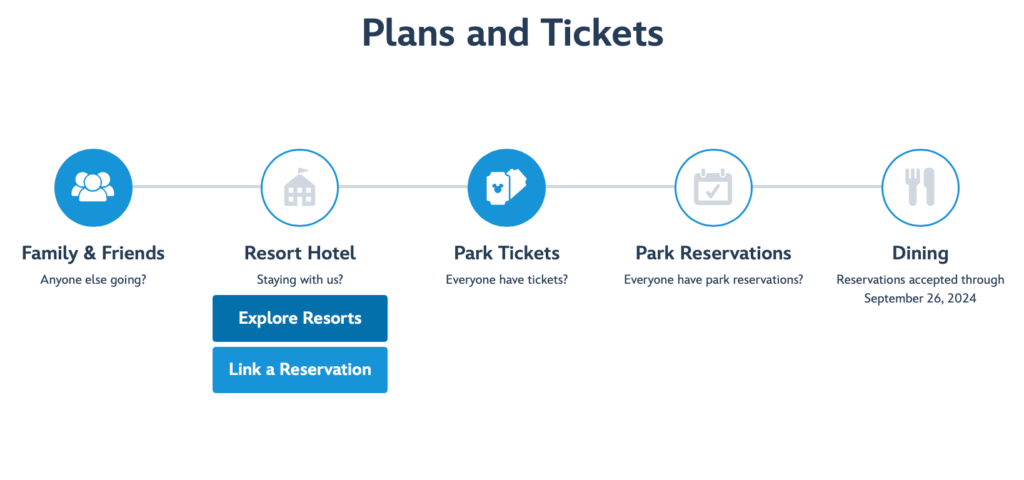
Staying at a Disney Resort hotel comes with many magical benefits, including the ability to seamlessly link your resort reservation to your My Disney Experience account. This integration allows you to manage your entire vacation in one place, from dining reservations to FastPass+ selections. Here’s a step-by-step guide to help you link your Disney Resort reservation:
Step 1: Navigate to “My Plans”
- Access the Menu: Once logged in, click on the menu icon (three horizontal lines) in the top right corner of the app or the “My Disney Experience” tab on the website.
- Select “My Plans”: From the menu, select “My Plans” to view your Disney plans and reservations.
Step 2: Link Your Disney Resort Reservation
- Click on “Link Reservations and Purchases”: Within the “My Plans” section, look for the option to “Link Reservations and Purchases” and click on it.
- Select “Resort Reservation”: You will be given several options to link different types of reservations. Select “Resort Reservation.”
- Enter Reservation Information: Enter your Disney Resort reservation confirmation number and the last name on the reservation. This number can be found in your reservation confirmation email.
- Follow the Prompts: After entering the required information, follow the on-screen prompts to complete the linking process.
Step 3: Verify Your Reservation
- Check “My Plans”: Return to the “My Plans” section to verify that your resort reservation is correctly linked. You should see your Disney Resort hotel details listed.
- Confirm Linked Tickets: If your tickets were part of a Disney Resort package, they will automatically be linked to your My Disney Experience account. Verify that your tickets are also listed under each guest’s name.
- Important note: If you are not staying at a Disney Resort hotel, you can not link your hotel to My Disney Experience. However, you will still need to link your tickets. Follow the steps below
Step 4: Set Up Your Family & Friends List
- Add Your Travel Party: Ensure that everyone in your travel party is added to your Family & Friends list in My Disney Experience. This will allow you to make group reservations and manage plans together.
- Manage Permissions: Set permissions for each member of your travel party to control what they can see and do within your account.
Step 5: Plan Your Disney Experience
- Book Dining and FastPass+ (If Available): Depending on current offerings, you may be able to book dining reservations and FastPass+ selections to enhance your experience.
Linking your Disney Resort reservation to My Disney Experience allows you to manage all aspects of your trip in one place, enjoy Extra Magic Hours, and access special on-property benefits.
By following these steps, you’ll ensure that your Disney Resort reservation is properly linked to your My Disney Experience account, allowing you to make the most of your magical visit. Enjoy your stay at Walt Disney World!
Link Ticket Only Orders
If you are not staying at a Disney Resort hotel, you will need to link your tickets to your My Disney Experience account manually. Follow the same steps outlined above to enter your ticket ID number, which can be found on the back of your physical ticket or in your e-ticket confirmation email. This will ensure your tickets are linked and ready for use during your visit.
Link Your Tickets
- Click on “Link Tickets”: Within the “My Plans” section, look for the option to “Link Tickets” and click on it.
- Enter Ticket Information: You will be prompted to enter the ticket ID number. This number can be found on the back of your physical ticket or in the confirmation email if you purchased an e-ticket.
- Follow the Prompts: Enter the ticket ID number and follow the on-screen prompts to complete the linking process.
Assign Tickets to Your Party
- Select Guests: After entering your ticket information, you will need to assign the tickets to members of your travel party. Select the appropriate guest for each ticket from your list of family and friends in your My Disney Experience account.
- Confirm Assignments: Confirm the ticket assignments and ensure that each ticket is linked to the correct individual.
Plan Your Disney Experience
- Make Park Reservations if required: With your tickets linked, you can now make park reservations using the Disney Park Pass system. If you have a date-based ticket, you will not be required to make a park reservation. However, if your ticket does not have a specific date assigned to it or your annual passholder, you will be required to make park reservations..
Final Thoughts
Linking your Disney Resort reservation to My Disney Experience is a crucial step in ensuring a seamless and magical vacation. This platform allows you to organize all your plans, from dining reservations to park passes, in one convenient place. Additionally, make sure to explore Disney Genie, part of the My Disney Experience mobile app, which offers personalized recommendations and tips to make the most of your visit.
Whether you’re staying at a Disney Resort or off-site, proper planning with My Disney Experience can help you create unforgettable memories at Walt Disney World. Enjoy your magical adventure!
For more helpful planning tips, check out these articles:
RELATED ARTICLES
Disney Resorts Overview
Read to learn more...
Why Use a Disney Travel Planner
Read to learn more...
Guide to Lightning Lane
Read to learn more...
Get Your FREE Disney World Vacation Planner!
Enter your name and email and we’ll email you this free “Disney World Planner.” It’s the easiest way to keep organized when planning a trip to Disney World.
